

Total item
Subtotal
$0.00 USD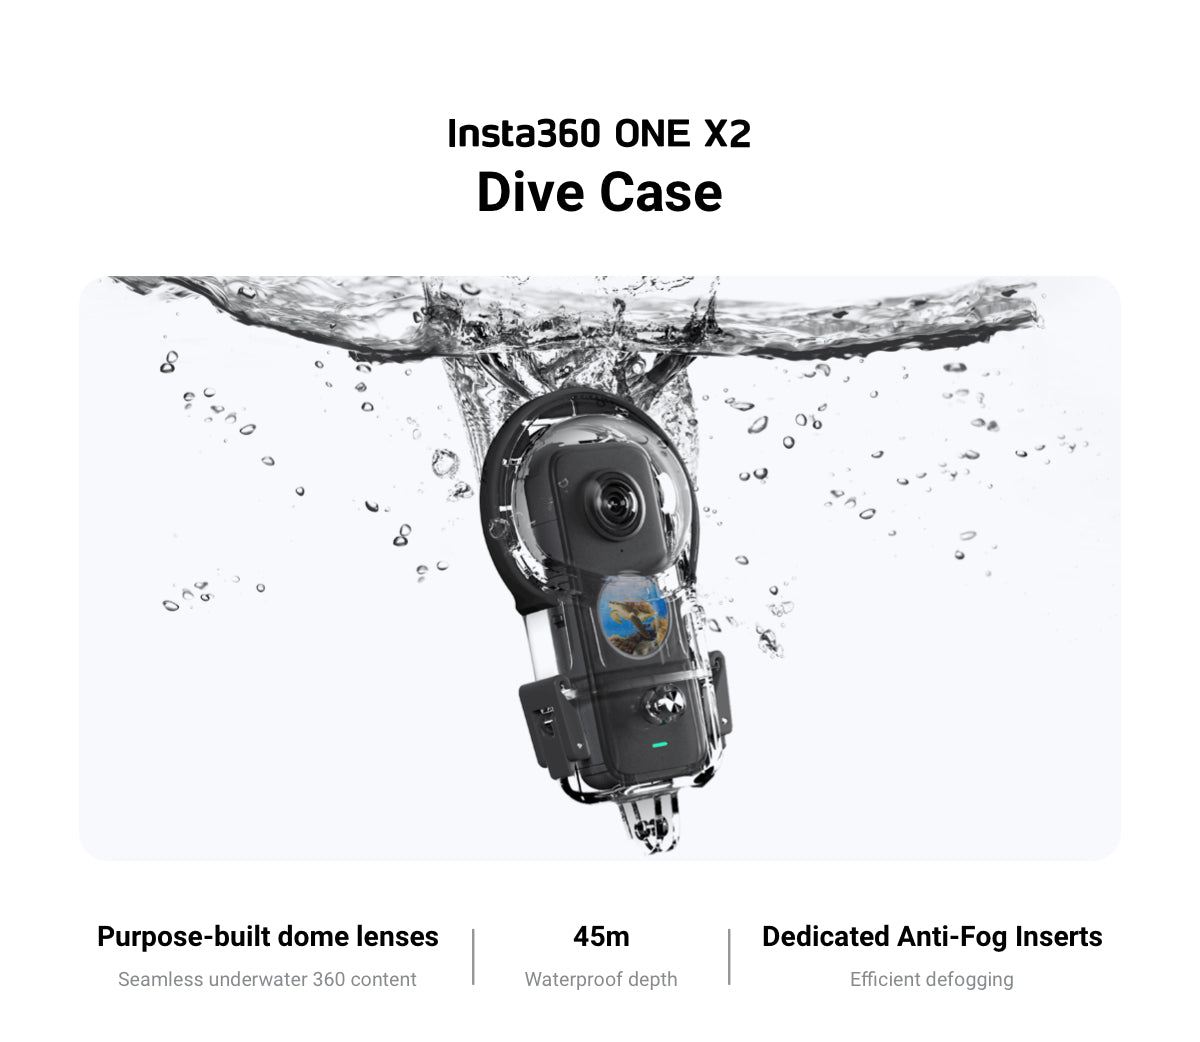
Suitable for sports scenes such as surfing, rafting and snorkeling


Note:
1) When installing anti-fog inserts, align their holes so that the inserts do not cover the camera's status indicators.
2) When using third-party anti-fog inserts, ensure that the size is within 32x18x1mm. If the inserts are too large, they will cause water leakage and potentially damage the camera.
Install the Dive Case's lower cover

Install the Dive Case's upper cover

Note:
1) When using the camera in water, please lock the touch screen to avoid accidental presses.
2) When inserting the camera, take care not to scratch the lens.

1) Ensure the Dive Case is firmly closed. Be sure that the parts of the Dive Case in contact with its rubber seal are free of dirt or dust.
2) For the best results, keep the lenses of the Dive Case clean.
When connecting the Dive Case to other accessories, such as the floating hand grip, be sure to stick a stabilizer ring to the screw points.

After capturing with the Dive Case, connect ONE X2 to your phone, open files taken with the Dive Case in the app and select Stitch for Dive Case.
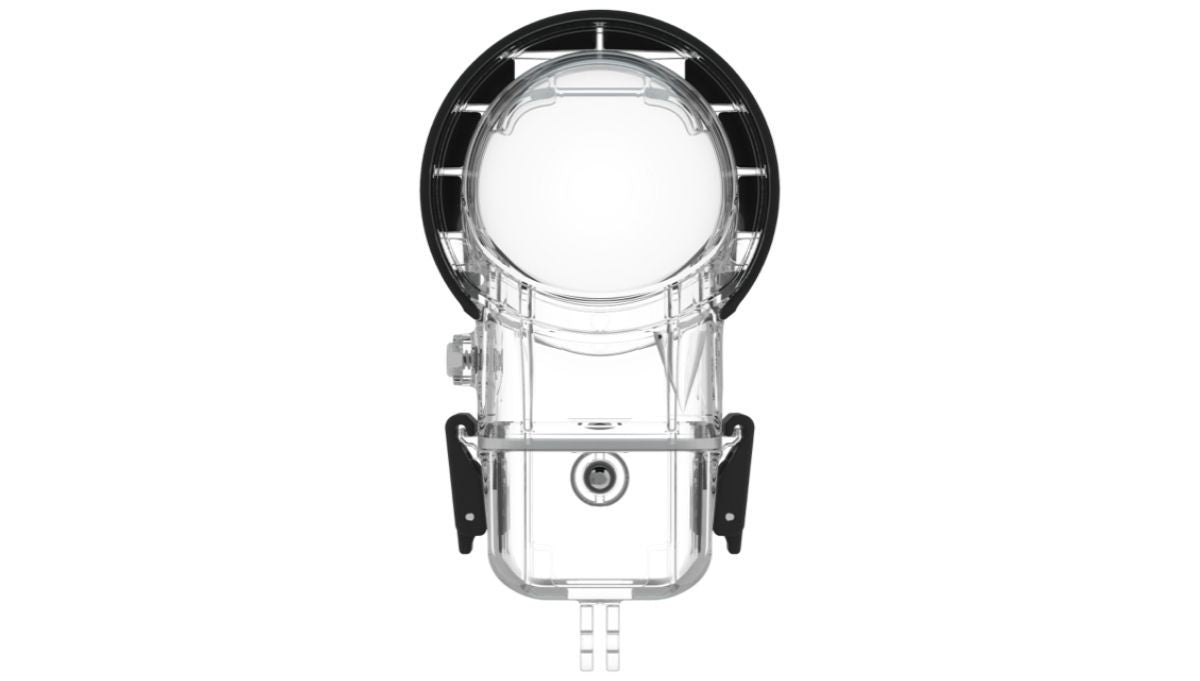
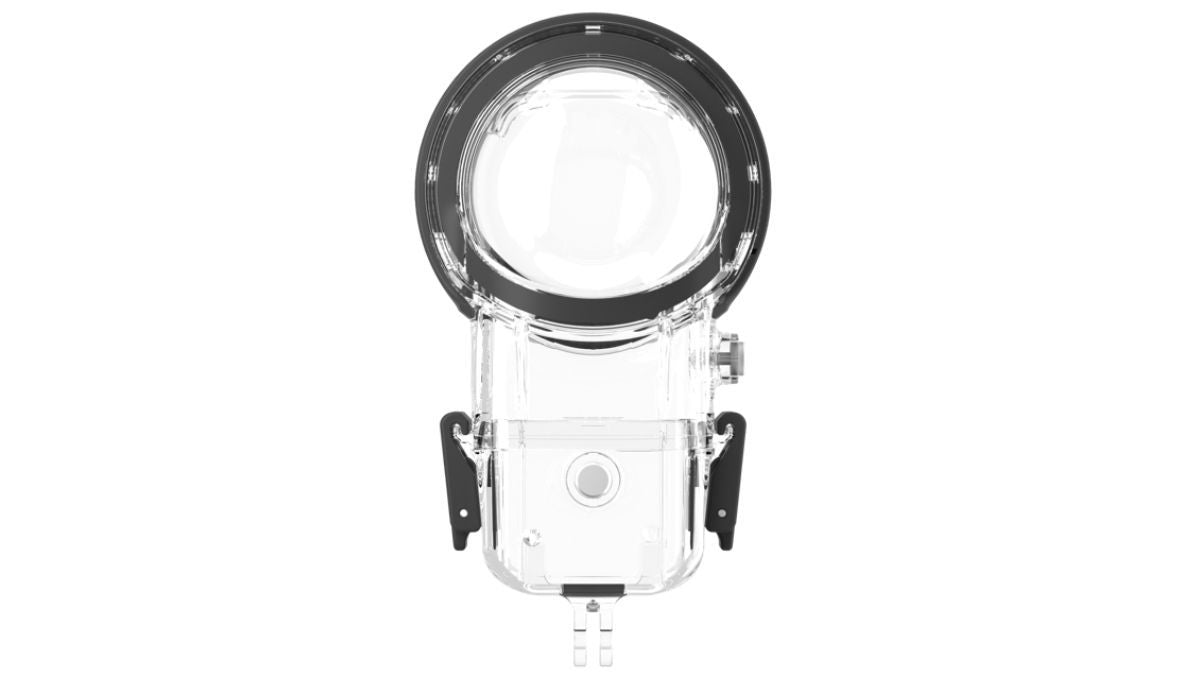
Dimensions: 153.9mmx67.0mmx83.7mm
Weight: 131g
Main Material: PC
.
Regular price $0 USD $0 USD