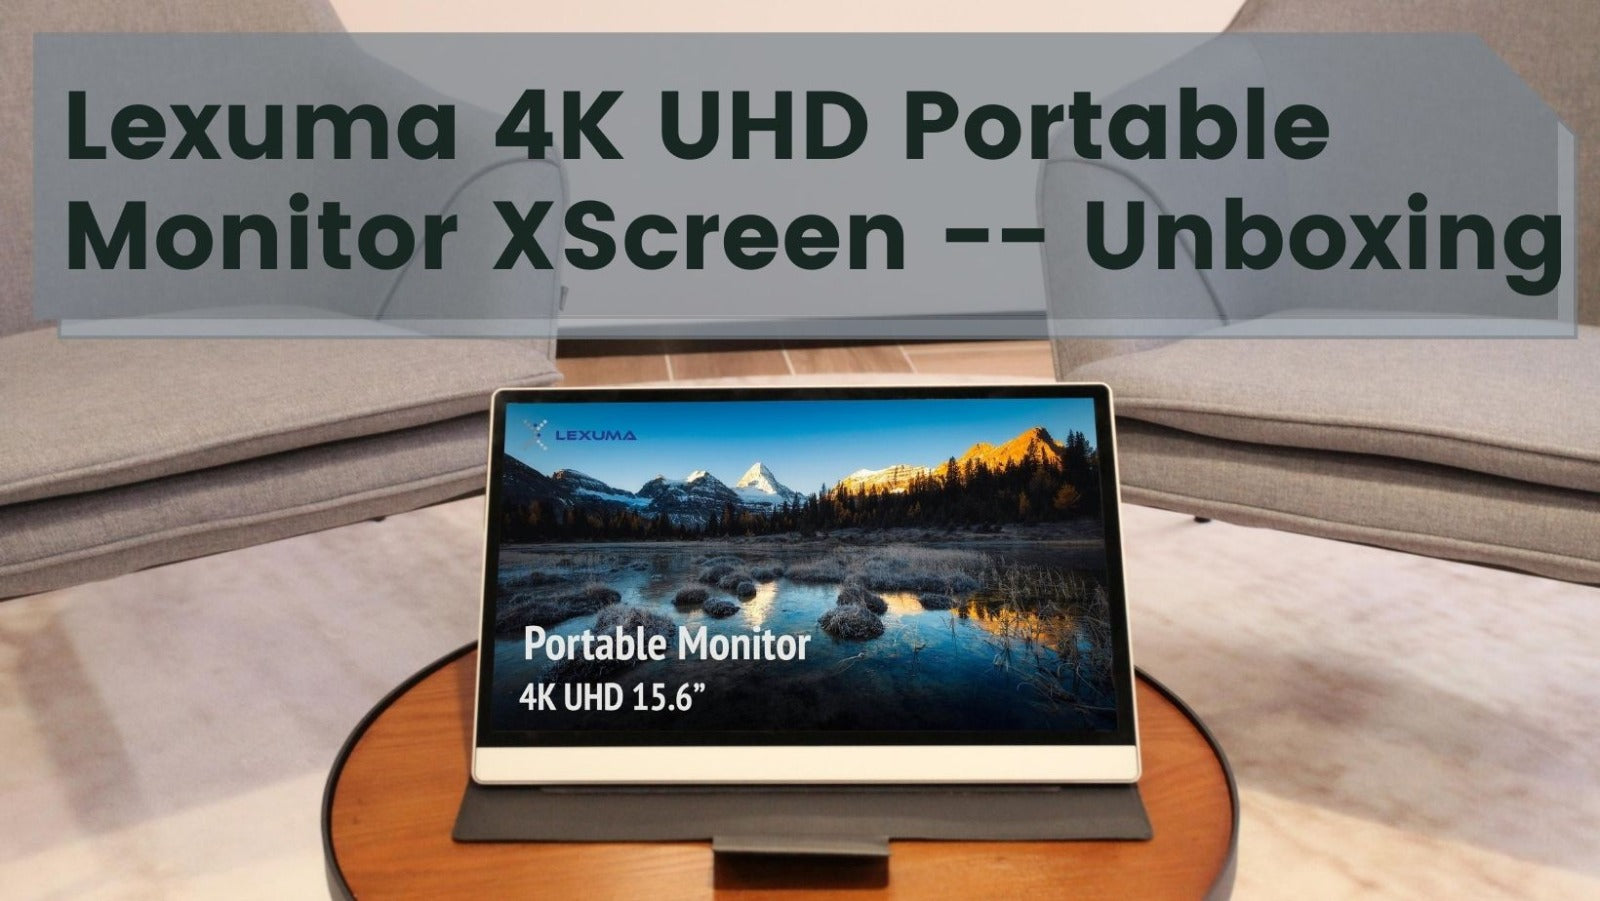
A 4K monitor is always attractive, right? After buying the 4K model of XScreen, you may wonder how it works and many questions suddenly pop in your head.
Don’t worry!
The below post is going to unbox the 4K version of XScreen. Let’s discover it step by step!
How to use Lexuma XScreen 15.6" 4K UHD Portable Touch Screen Monitor?
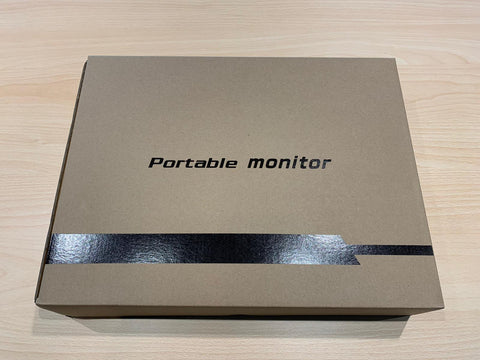
Once you receive it, it is well-packed in a paper box.
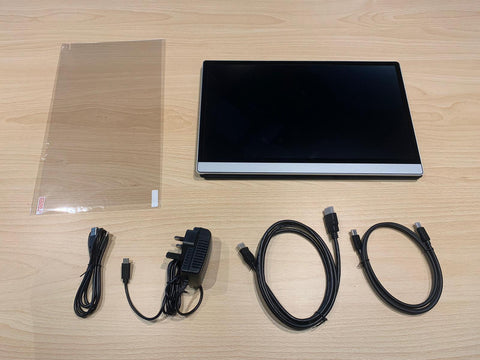
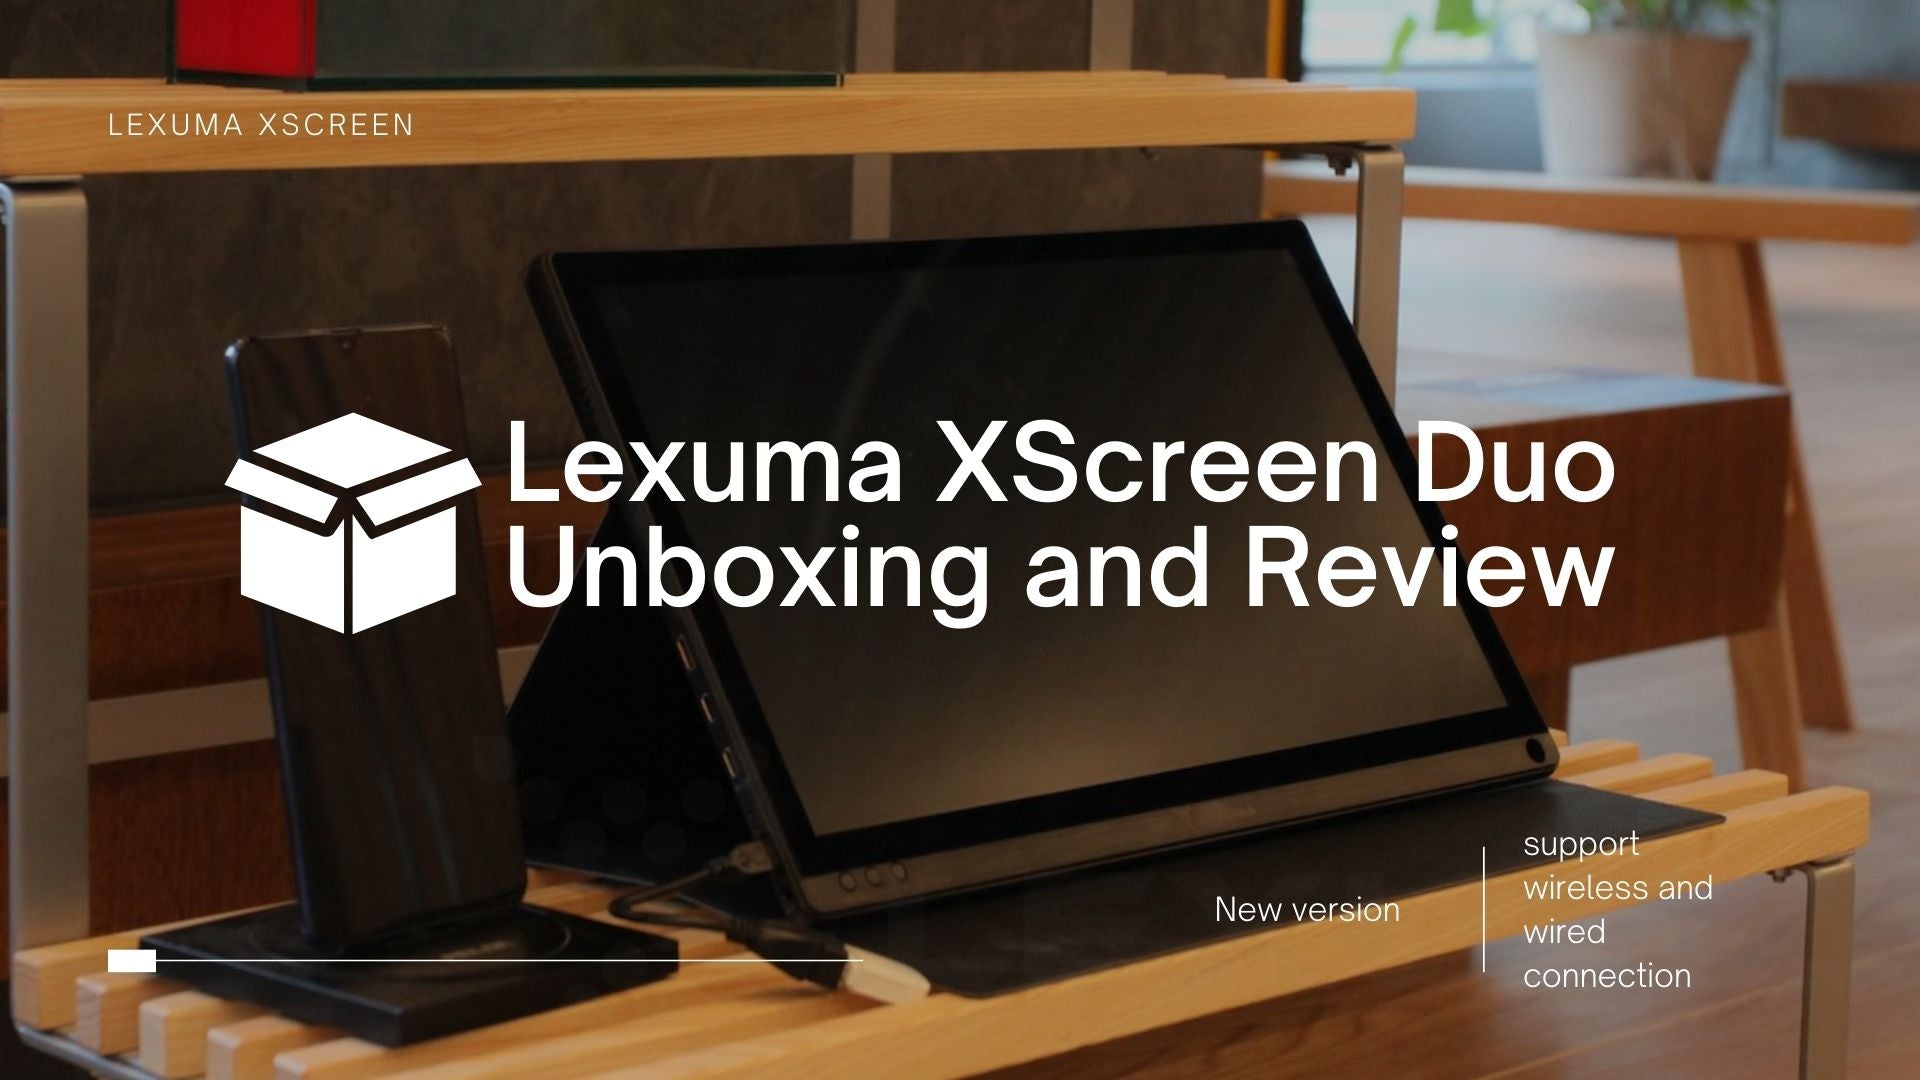
When you open it, you will immediately see 5 items, including a 15”6 monitor in silver color, 3 cables (HDMI cable, USB to Type C cable, Type C to Type C cable), a charger adapter and a user manual. When you open the cover stand which covers the monitor, you will also see a screen protector.
There are 2 Type C ports and 1 mini HDMI port on the left side of the monitor.

For the 2 Type C ports, the upper one is for Type C charging, which you can plug in Type C cable for charging (e.g. by using the charger adapter or a Type C to USB cable to connect with other available devices). The lower one is for the touch screen function, when you plug in a Type C cable and connect the monitor with computer or other devices, it enables your XScreen with touch screen function. For the mini HDMI port, you can plug in the HDMI cable and export the picture of from your device to XScreen.
And on the right side, there are 5 buttons, 2 light indicators, 1 micro-USB port and 1 earphone port.

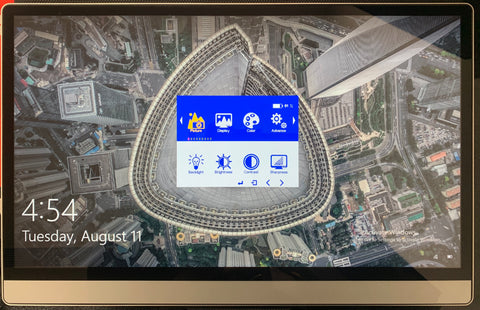
The first button is a power button. You can turn on/off the monitor by pressing the same button.
The second button is menu. You will be directed to the setting menu by pressing this button. Different options like brightness, contrast can be adjusted through here.
The third button is direction to the right. After pressing the second button, you can find out more and choose the function you want to adjust by pressing this button.
The fourth button is direction to the left.
The fifth button is reset/return. If you are still dissatisfied after adjusting all the functions, you can press this and return to the beginning and adjust every setting again.
After connecting the HDMI cable and Type C cable, you can press the first upper button on the right side for a few seconds, then the monitor is turned on and you can start browsing or playing different games.
If you are not satisfied with the current setting, you can adjust the settings for picture, display, color, audio, etc. Once all the settings are ready, you can enjoy your leisure time by watching movies with this 4K monitor in good quality, or playing games through touching the monitor by your fingertips; or for enhancing your work efficiency for sure.
When you are playing a video through XScreen 4K, the sound will also come out from XScreen. And now you may wonder, where does the audio come from?
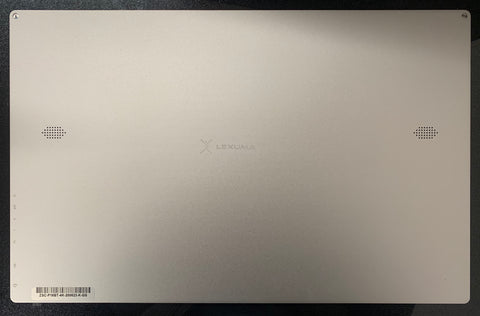
You can flip the monitor to the back, then you will see 2 speakers on the back on XScreen.
If you also want a touch screen function, please plug a cable in the Type C connection port to connect XScreen and your device. However, not all devices support touch screen function, for example, if you use iphone, the touch screen function on XScreen is not supported.
If you would like to use XScreen as your second monitor for your laptop only, you can only plug in the HDMI cable to support the display. When you connect XScreen to an external device, no matter if it is a laptop or mobile phone, a green light will be turned on to tell you that 2 devices are successfully connected.
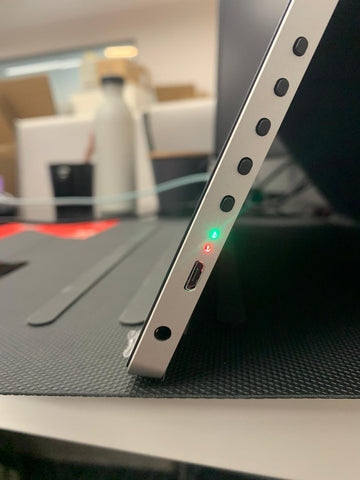
After using it for a few hours, its battery level must be running low. You can plug in and connect the charger adapter with your XScreen 4K version. The red light will be shown while charging. By charging it for 3 to 4 hours, your XScreen will be fully charged again.
After charging, you can check the battery level by pressing the menu button too, then the battery level will be clearly shown on the top right corner.
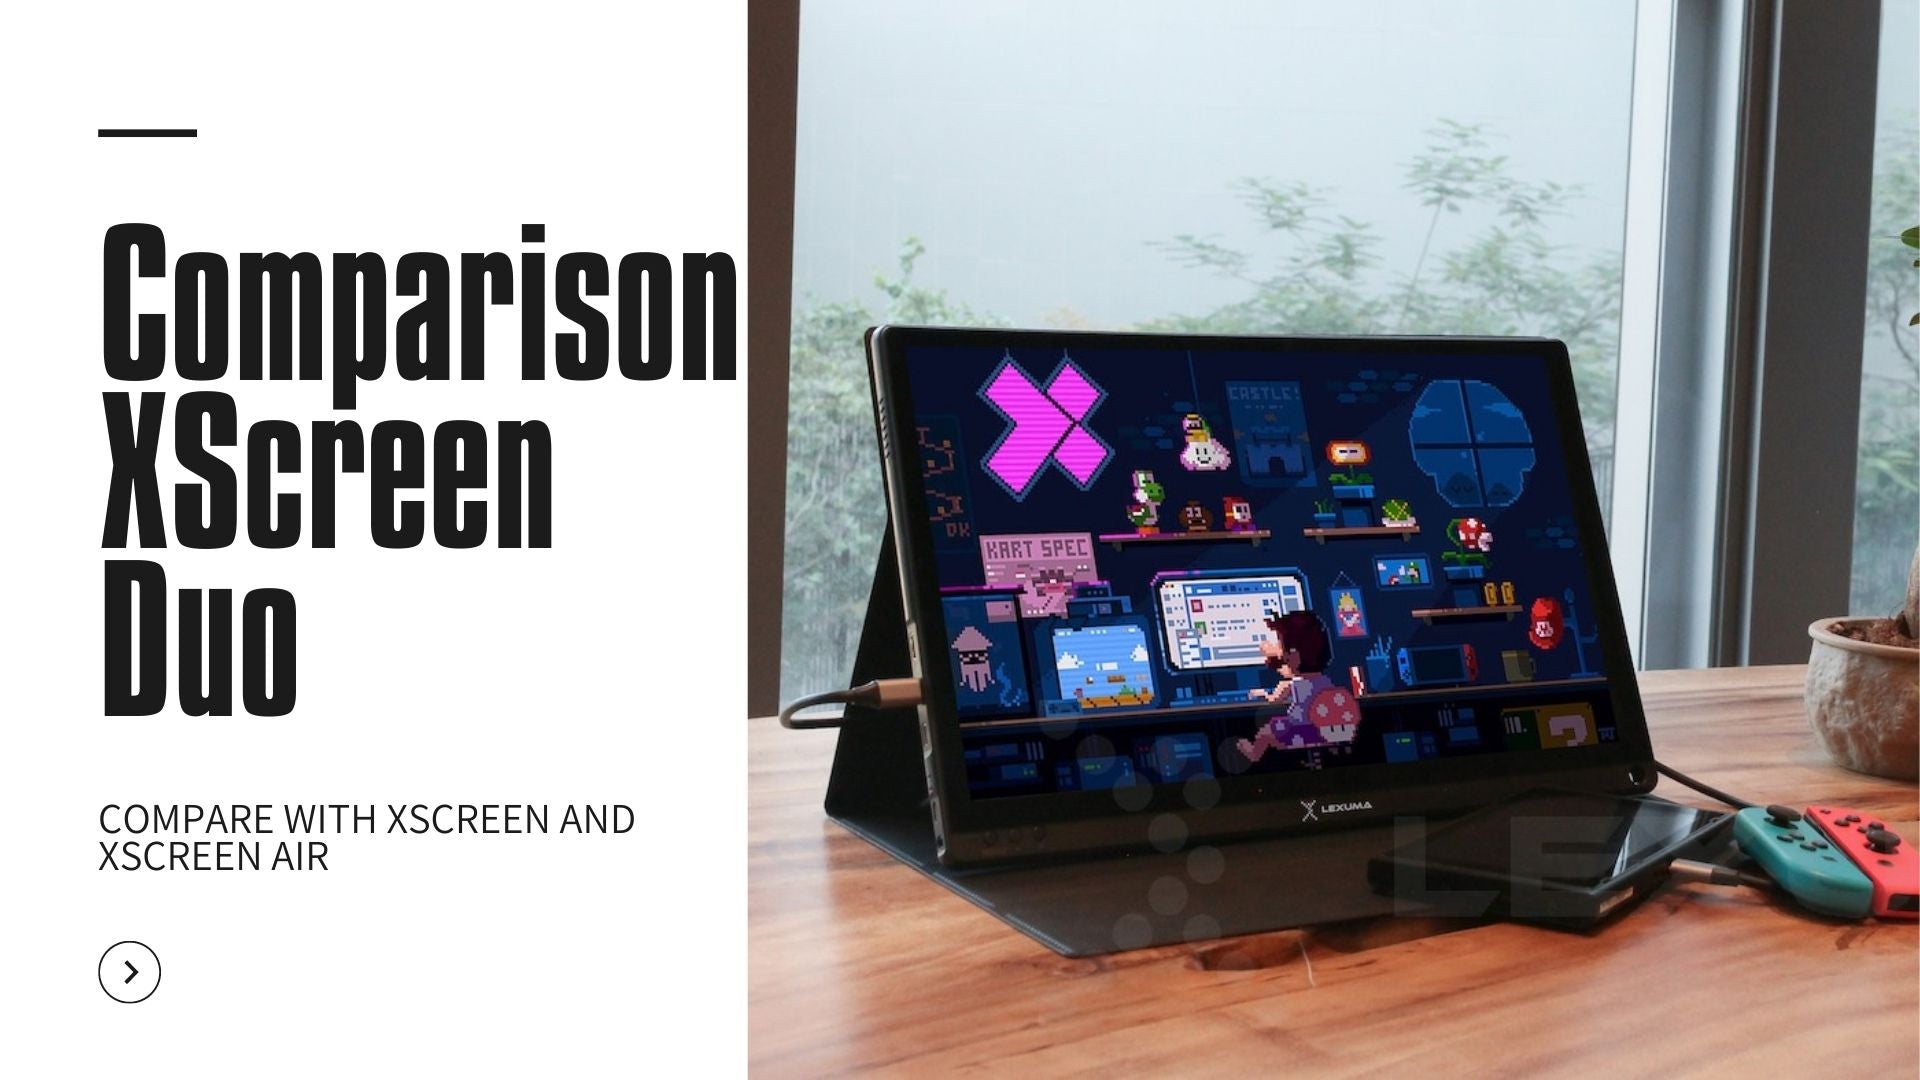
Lexuma XScreen 15.6" 4K UHD Portable Touch Screen Monitor is portable and easy to use, which allows you to enjoy a dual monitor setting anytime and anywhere!

![[Apple] How to connect Wireless XScreen Air portable monitor with my Apple device?](http://gadgeticloud.com/cdn/shop/articles/Lexuma-XScreen-Air-Connection-with-iPhone01.jpg?v=1610506485&width=1200)